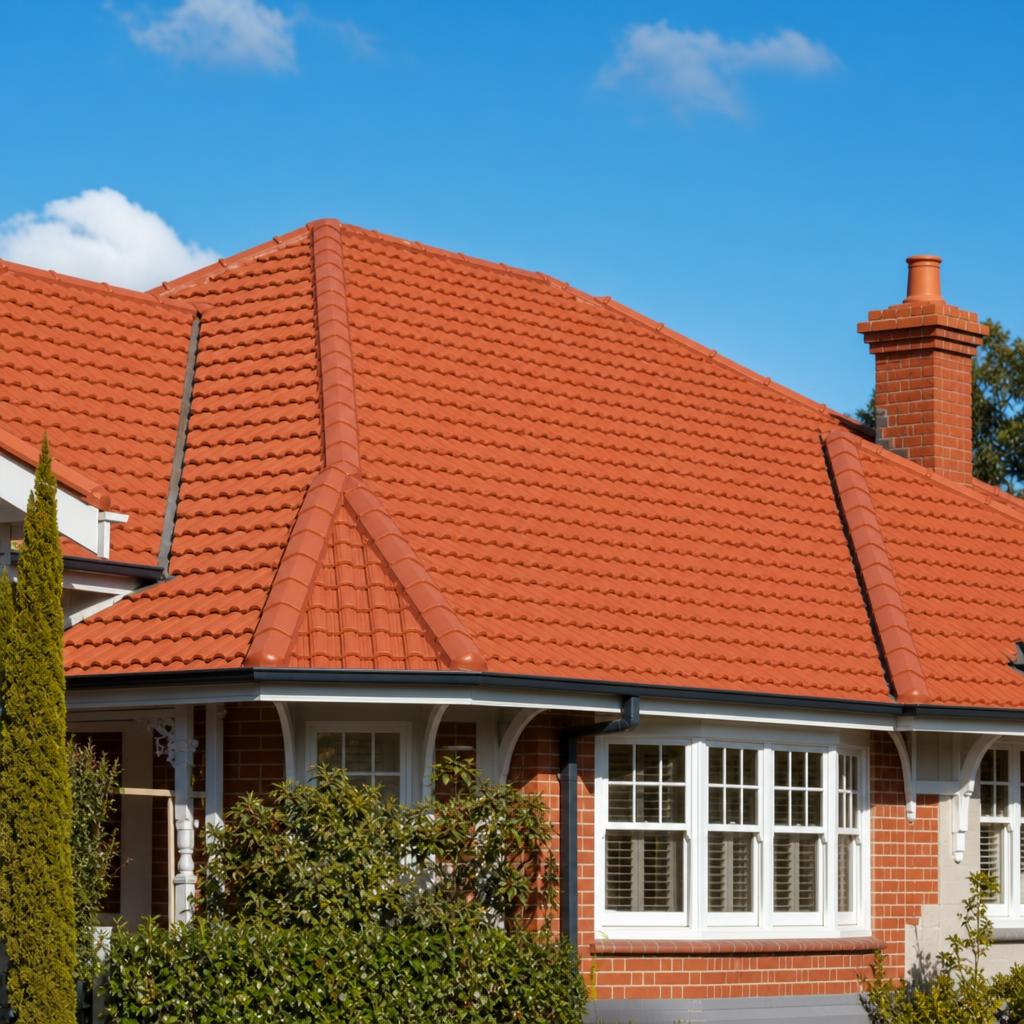
Concrete tile roofs are everywhere across Sydney and the wider NSW — they've been the default on brick-and-tile homes for decades. They're tough, they handle our climate well, and when they're looked after they last a very long time. But concrete tiles do age. The surface coating wears off, the tiles soak up more water and grow mould and lichen, the pointing along the ridges cracks, and the whole roof starts looking tired and dark long before it's actually failed. That's where restoration comes in.
A restoration isn't a replacement, and it isn't just a fresh coat of paint either. Done properly, it's a sequence of repair and protection steps that bring a sound-but-weathered roof back to a watertight, good-looking condition. Below we walk through exactly what the process involves so you know what you're paying for and what a genuine restoration should include.
Step One: The Inspection and Honest Assessment
Every restoration should start on the roof, not on the phone. We get up there, walk the surface, and check the actual condition of the tiles, the ridge capping, the valleys, the flashings and the underside where we can see it. The key question is whether the roof is a genuine candidate for restoration. If the tiles are structurally sound and it's mostly the surface and pointing that have gone, restoration makes sense. If tiles are widely cracked, the battens are rotten, or the sarking has failed, we'll tell you straight — sometimes a replacement is the more honest recommendation.
Step Two: Repairs Before Anything Else
There's no point coating a roof that leaks. So the repair stage comes first. Broken and slipped tiles are replaced with matching ones, and any that have shifted are re-bedded. This is the unglamorous part of the job, but it's where the watertightness comes from. A roof that's been coated over the top of cracked tiles will look great for a season and leak the next.
Step Three: High-Pressure Cleaning
Concrete tiles collect a surprising amount over the years — moss, lichen, mould, dirt and the loose remains of the old surface coating. All of it has to come off before any new product goes on, because coatings won't bond to a dirty or flaking surface. We pressure-clean the whole roof, working methodically so we don't drive water up under the tiles. It's messy work, and it's the reason a freshly cleaned roof already looks dramatically better even before the colour goes on.
Step Four: Re-Bedding and Re-Pointing the Ridges
The ridge caps sit on a bed of mortar, and over the decades that mortar cracks, crumbles and lets the caps move. Re-bedding means laying a fresh mortar bed where it's needed; re-pointing means applying a flexible pointing compound over the top. Flexible pointing is a big improvement on the old rigid mortar because it moves with the roof as it expands and contracts in the heat rather than cracking straight back open. This step is one of the most important for keeping wind-driven rain out.
Step Five: Sealing and Coating
Once the roof is clean, dry, repaired and re-pointed, the coating stage begins. Typically this runs in layers:
- A sealer or primer coat that soaks into the porous tile and gives the top coats something to grip.
- A first colour coat, applied evenly across every tile.
- A second colour coat to build the film thickness and even out the finish.
- Attention to the ridge caps and cut edges so the whole roof reads as one colour.
The coating does two jobs. It restores the colour and kerb appeal, and it puts a protective, water-shedding surface back over tiles that had lost theirs. A well-coated roof sheds water faster, dries out quicker after rain, and is far less hospitable to moss and lichen.
Step Six: The Final Clean-Up and Check
The last stage is walking the finished roof, checking every ridge and valley, cleaning out the gutters of debris from the works, and clearing the ground below. A tidy site at the end is part of the job. Before we leave, we'll happily walk you around and show you what was done — you paid for it, you should be able to see it.
How Long Does the Finish Last?
A properly prepared and coated concrete tile roof holds its finish for many years, but we won't quote you a magic number — it depends on the products used, how much sun and salt the roof cops, and how well the prep was done underneath. What we can say plainly is that the longevity comes from the boring stuff nobody sees: a clean, dry, well-repaired surface and a good sealer coat. A roof rushed through the prep stages will fade and flake early no matter how expensive the top coat is. That's why we won't cut corners on cleaning and re-pointing to shave a day off the job.
Weather and Timing Matter
Restoration is weather-dependent work. The pressure-clean needs the roof to dry out afterwards, the pointing needs to cure, and the coating stages need dry, reasonable conditions to bond and cure properly. In Sydney that usually means the drier, warmer stretches of the year are ideal, though a good crew works around the forecast rather than pushing on regardless. If someone offers to coat your roof the morning after a downpour, be wary — moisture trapped under a coating is a recipe for early failure.
Is Restoration Worth It on a Concrete Tile Roof?
For a structurally sound roof that's simply weathered, restoration is usually the sensible middle path between doing nothing and a full replacement. It restores watertightness, tidies up the ridges, and gives you back a roof you're not embarrassed by. The one honest caveat: restoration can't fix a roof that's genuinely past it. If the bones are gone, coating them just hides the problem for a while. That's why the inspection matters so much — we'd rather turn a job down than dress up a roof that needs replacing.
If you've got a tired concrete tile roof and you're not sure which way to go, give us a call on 0416 689 689 and we'll come out for a free, no-obligation inspection and give you a straight answer.